

Play Settings
The Play Settings let you control a lot of different properties of your scene in Play Mode or when you export your scene.
Find Play setting by clicking the export button on the toolbar and selecting any of the export types that are using Play Settings:
Web
Apple Platform
Android Platform
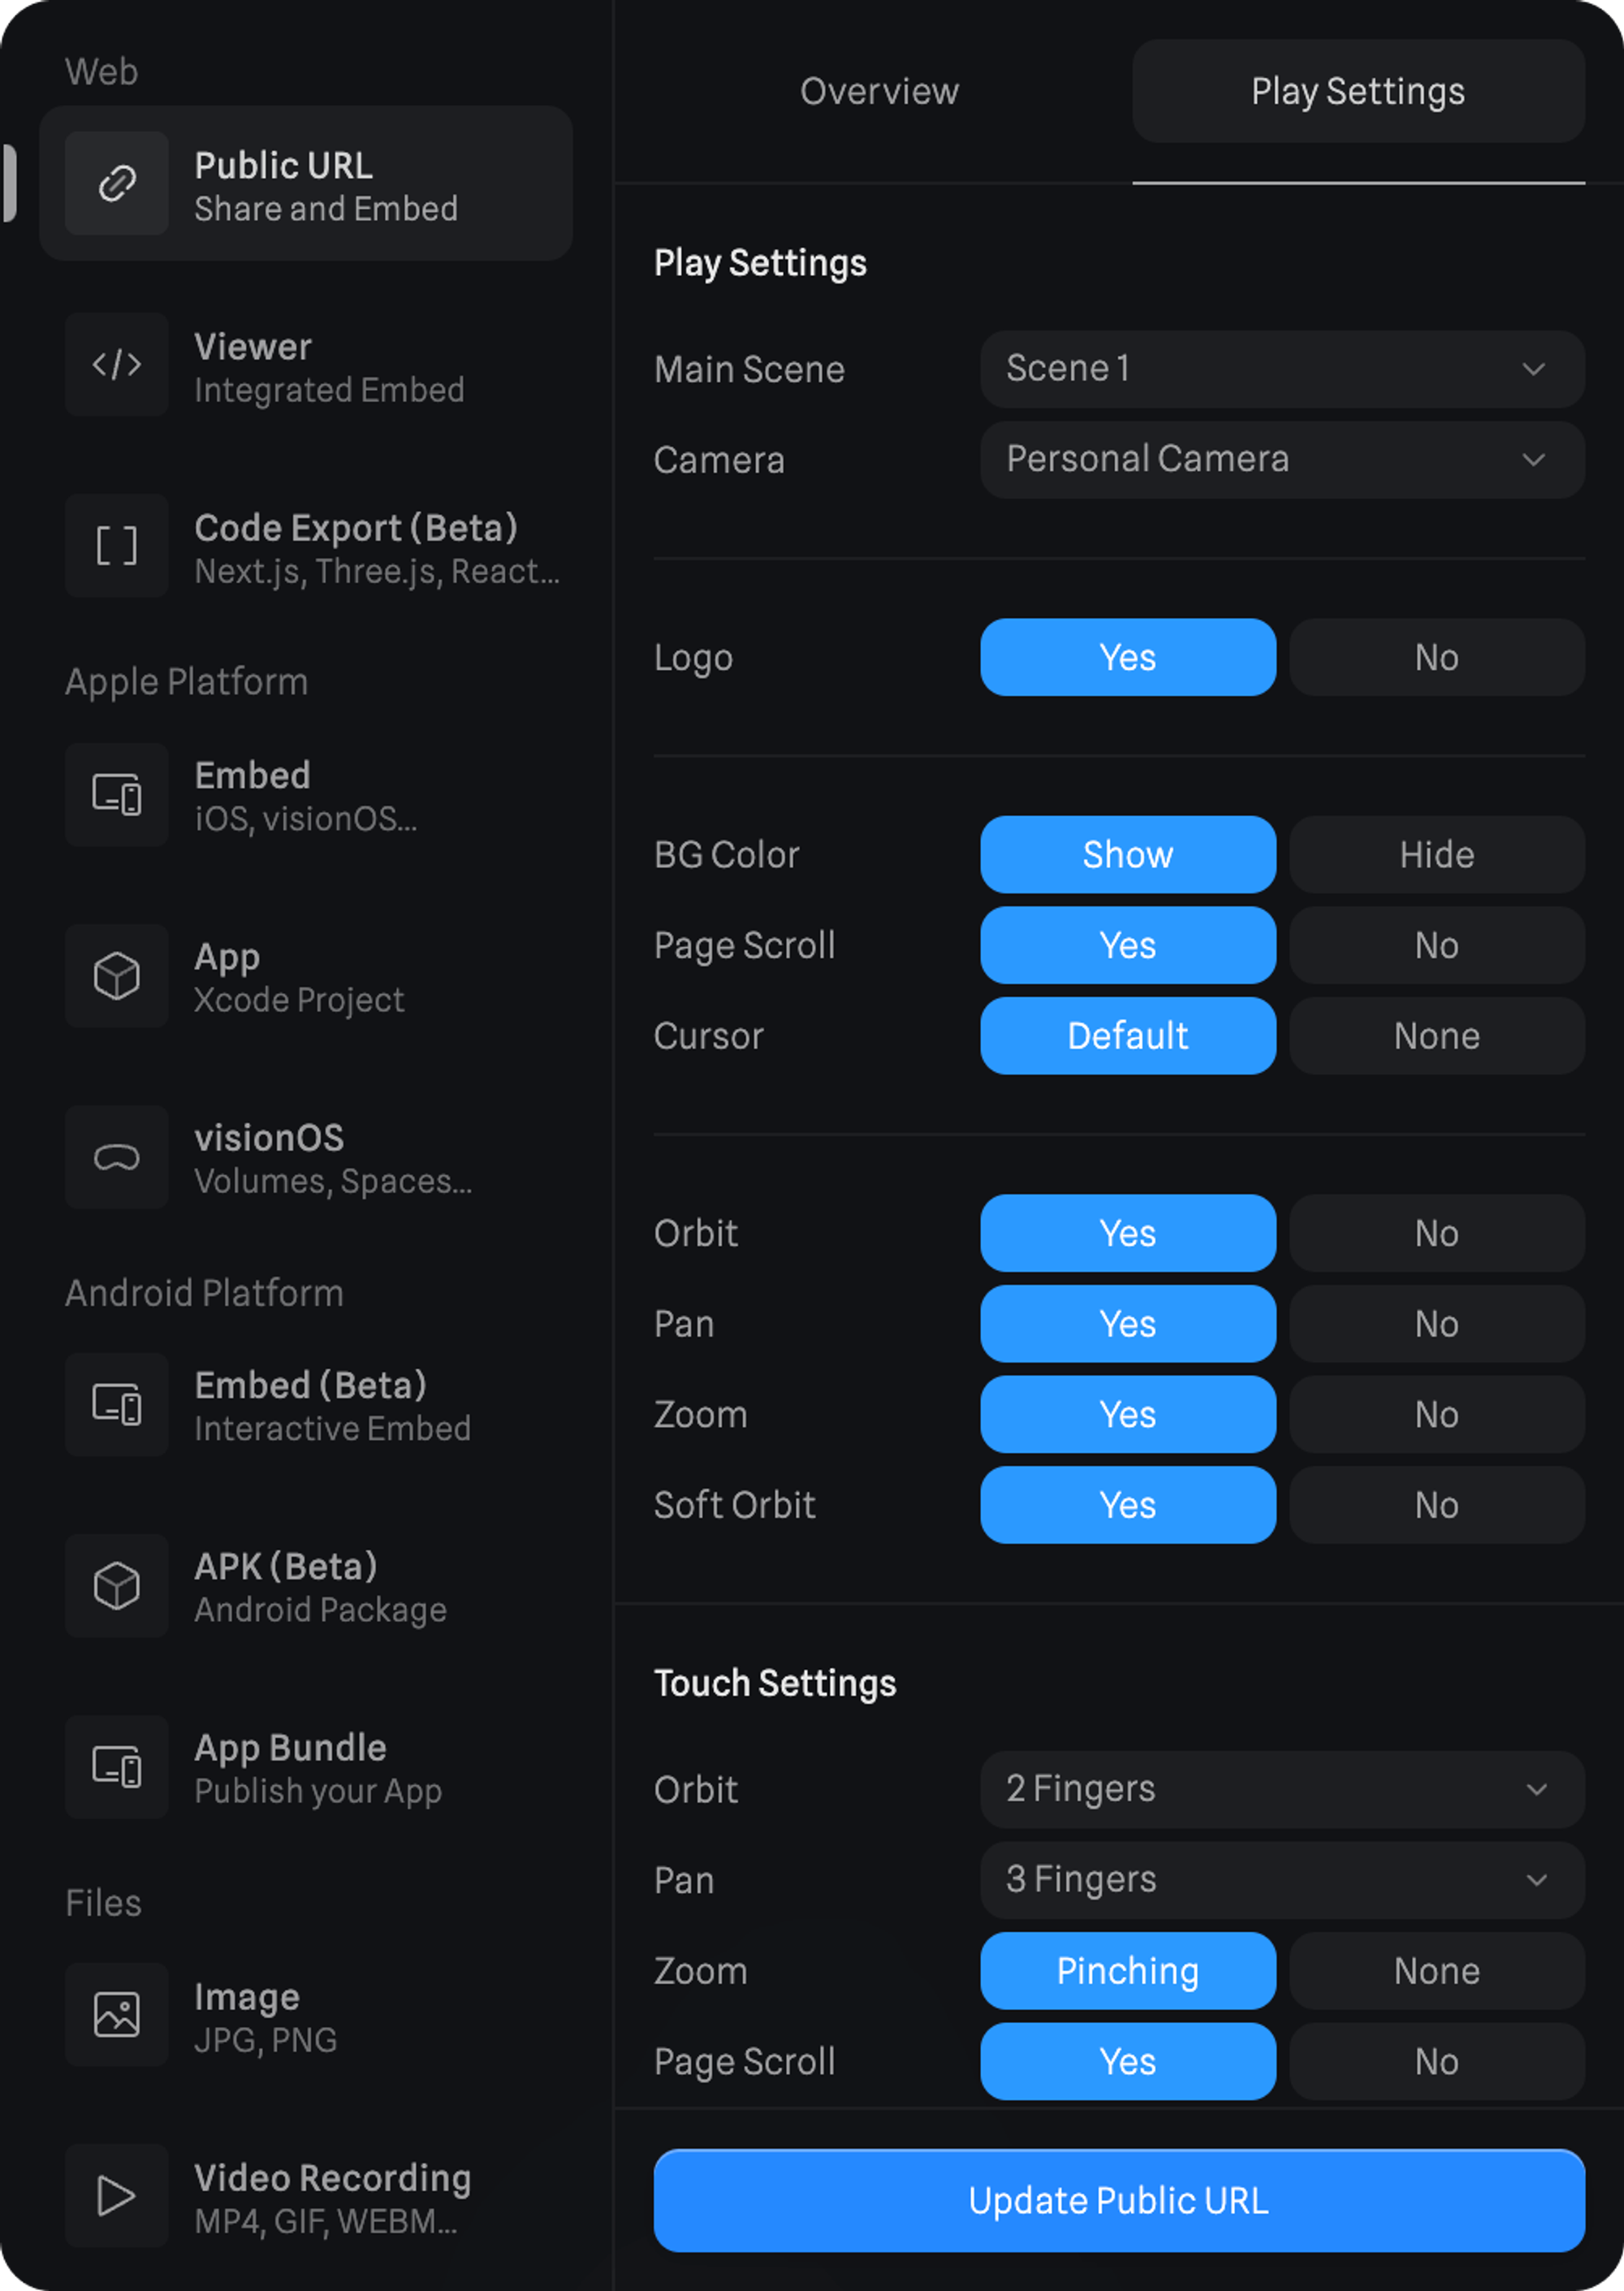
Here’s an overview of all the settings you can control for your scene.
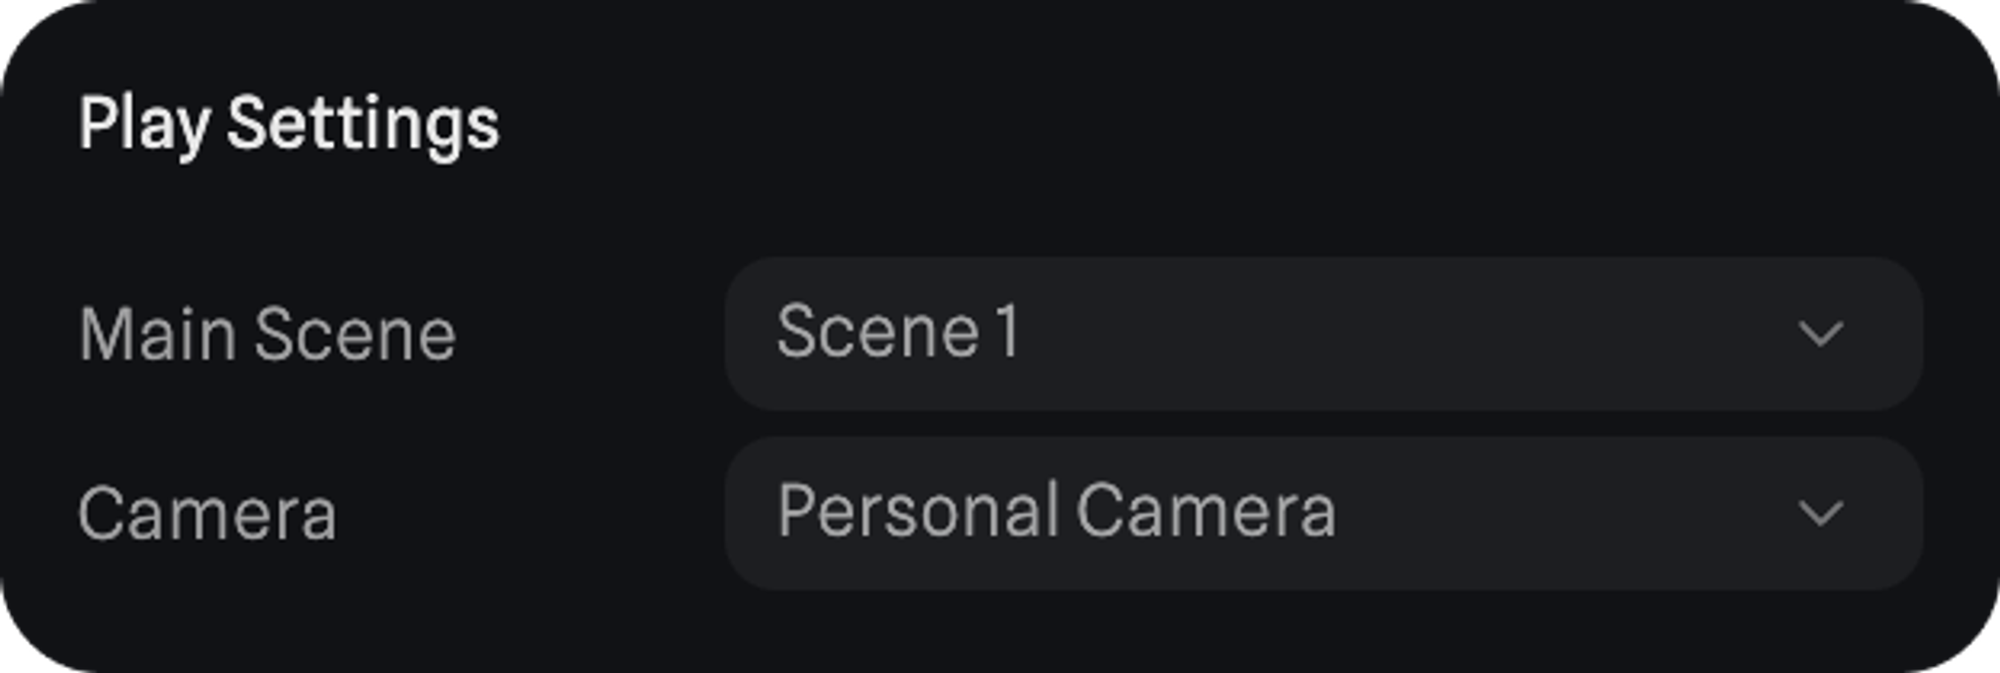
Main Scene → select which scene should be initially loaded for the experience.
Camera → Select which camera is the main camera for your scene. This is quite useful when collaborating with others, so everyone sees the same final result in Play Mode or when exporting.

If you have a Hobby, Pro or Max subscription you can remove the Spline logo from Public URLs, Viewer embeds and Code Exports.
To remove the Spline logo from Apple and Android exports, you'll need an active Pro or Max subscription.
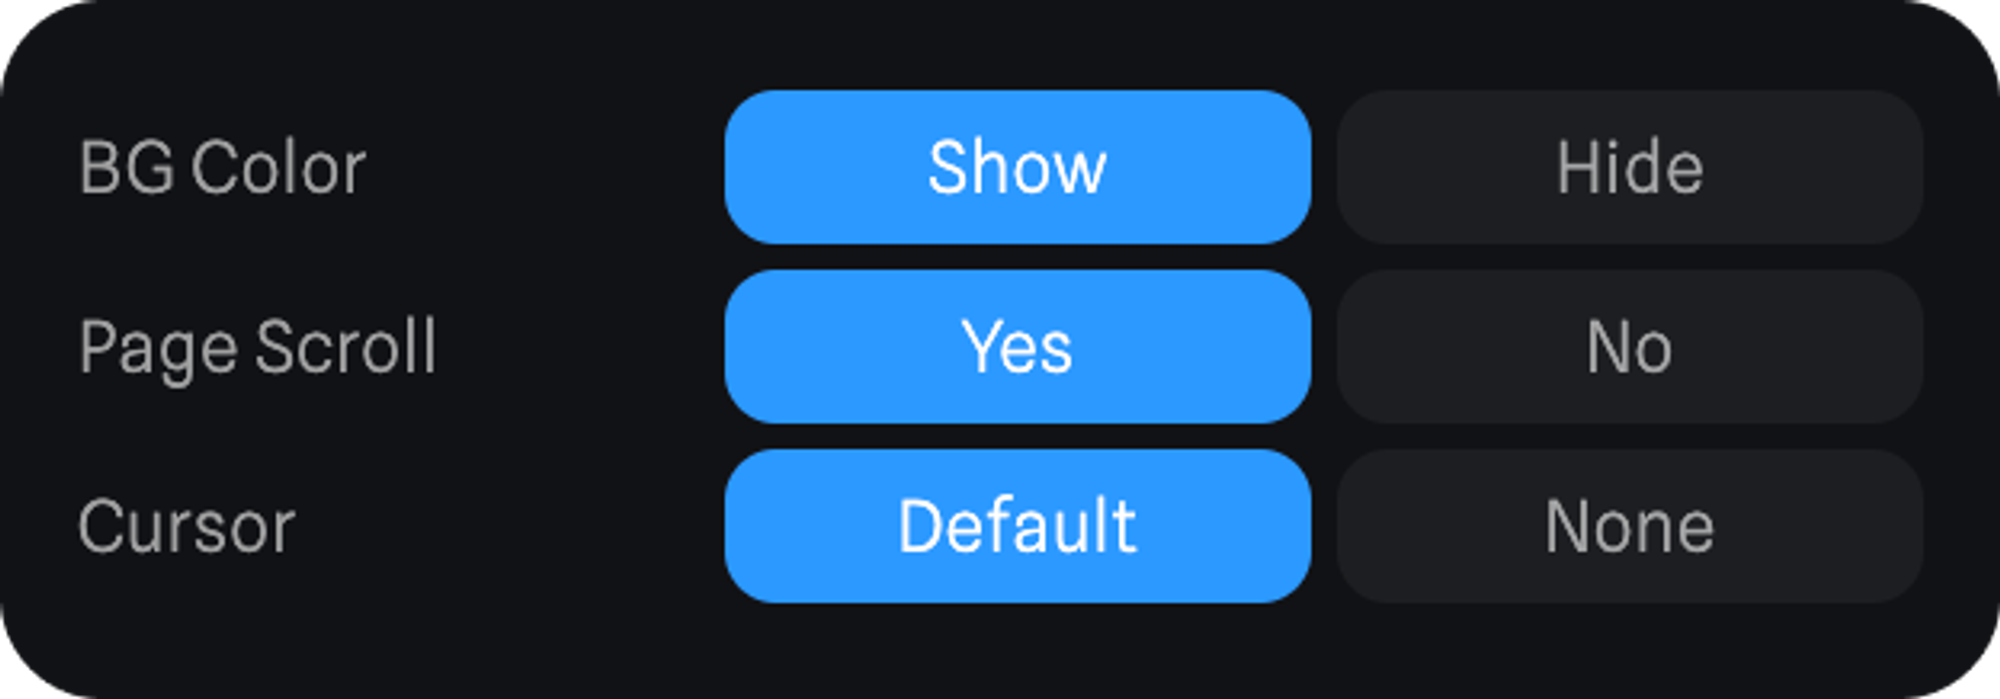
BG Color → Hide background color of your scene to embed with a transparent background.
Page Scroll → Setting Page scroll to Yes will allow the website to be scrolled. Setting it to No will disable scrolling. This applies to desktop devices.
Cursor → Default will use system cursor, none will hide the cursor.
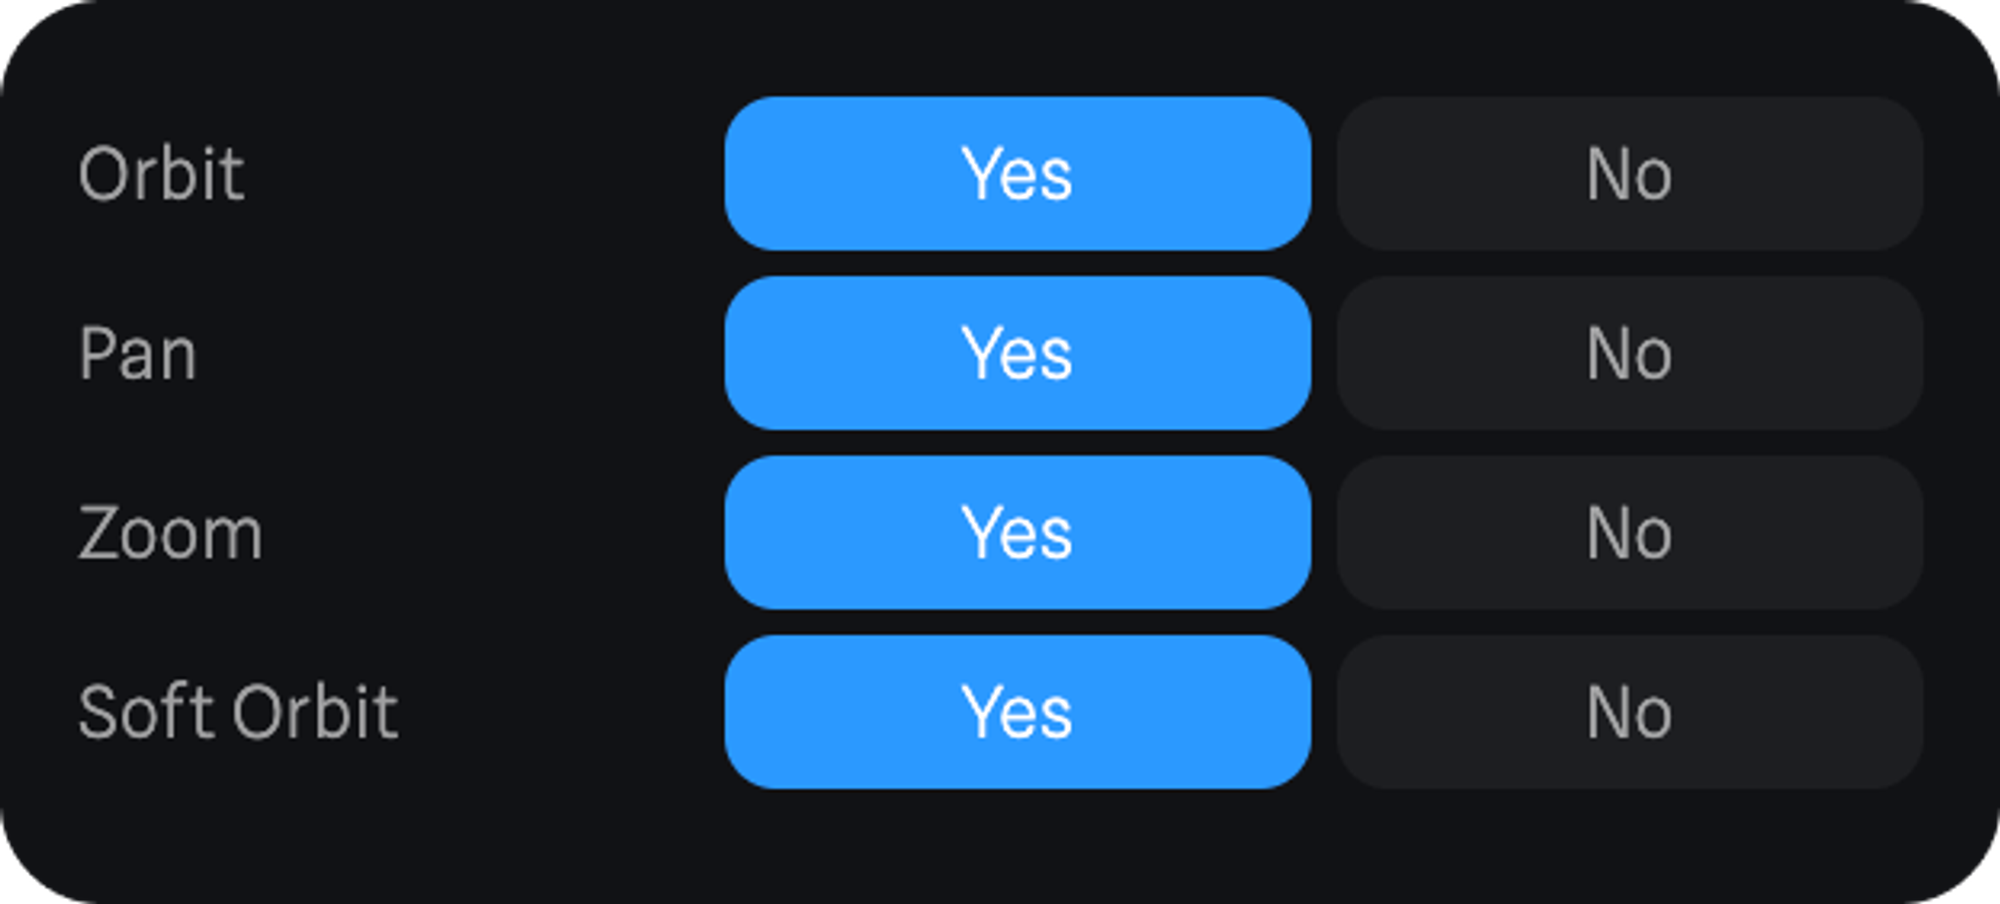
Orbit, Pan, Zoom → Decide if you want to lock movement on your scene by allowing Orbit, Pan and Zoom or not.**
Soft orbit → Make orbiting your scene smoother with Soft Orbit set to Yes.
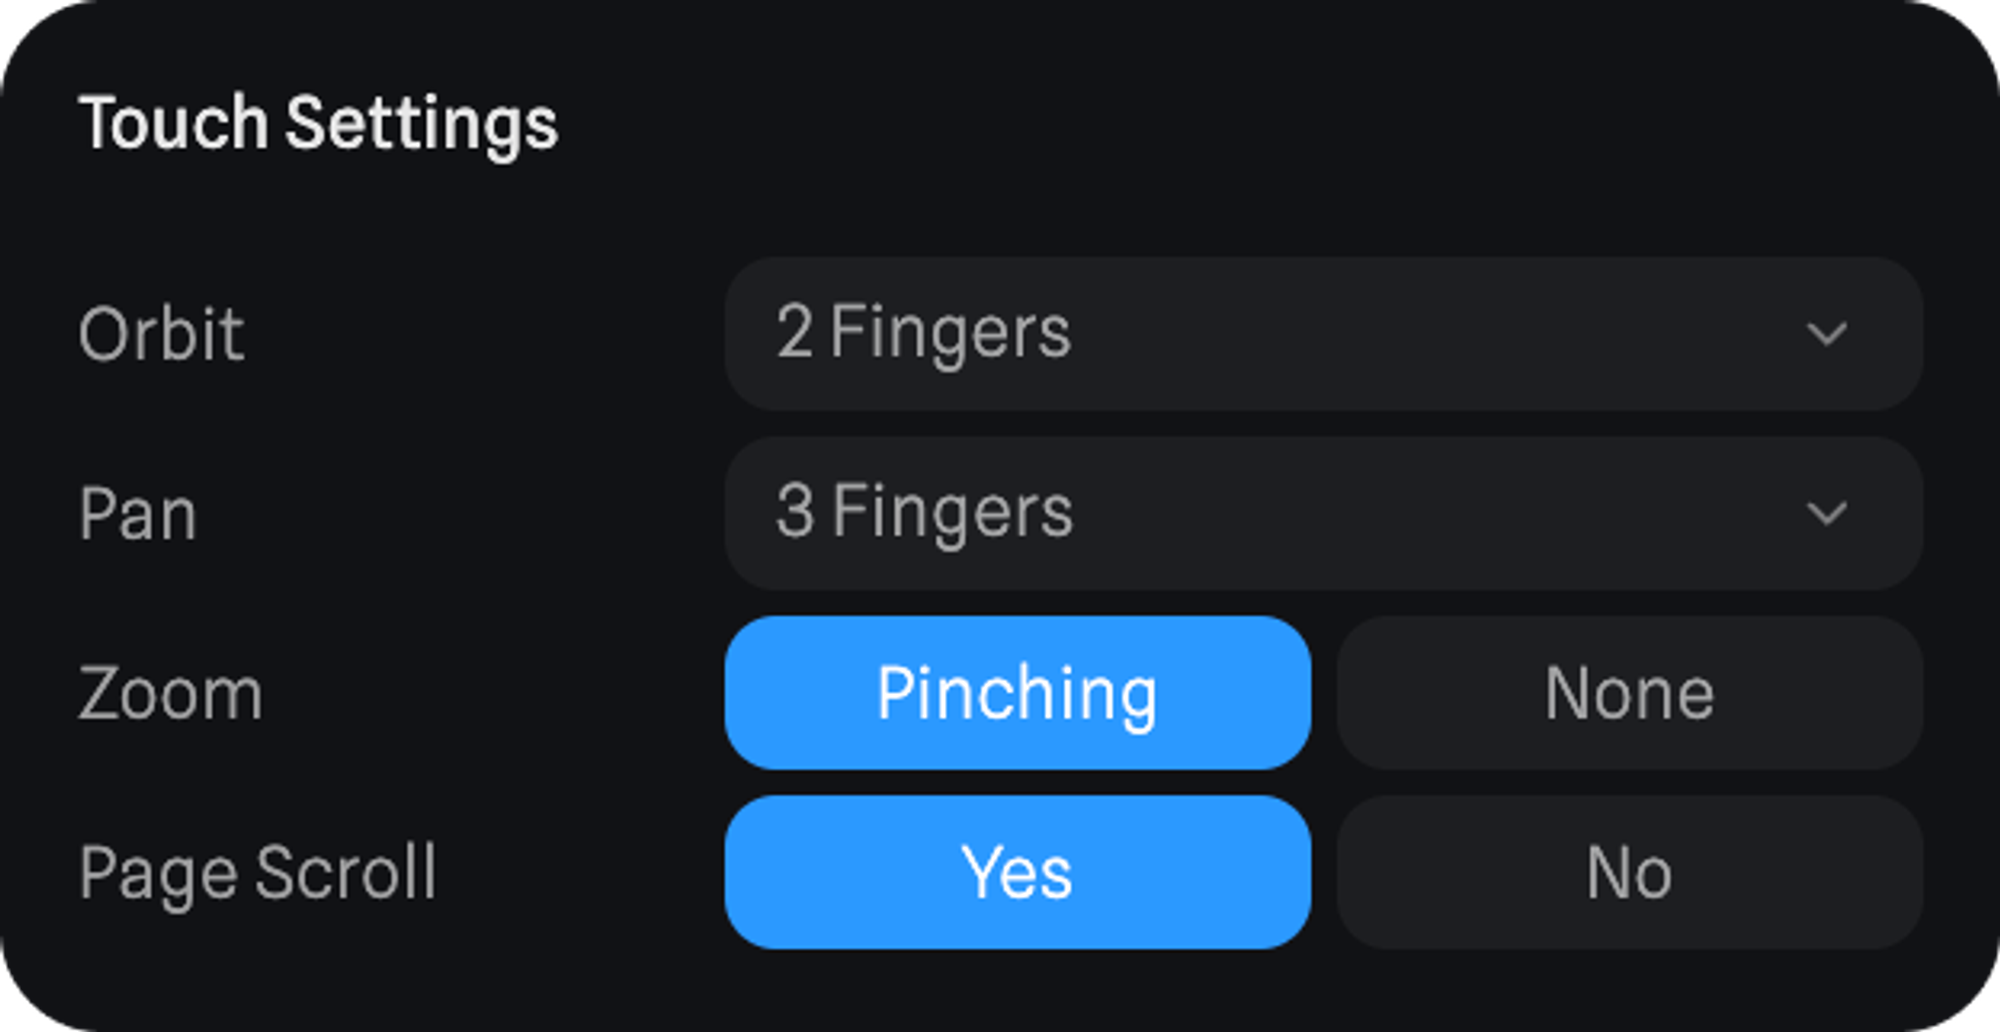
Touch settings can adjust the way the scene can be interacted with on touch screens.
Orbit / Pan → Following options are available with which Orbit and Panning can be controlled on touch screens: 1 Finger, 2 Fingers, 3 Fingers, Disabled
Zoom → If set to pinching, zoom is possible via the pinch gesture. None will disable zooming on touch screens.
Page Scroll → If set to yes page will scroll when swiped on the Spline scene, if set to No page scroll will be ignored when swiping on top of the Spline scene.
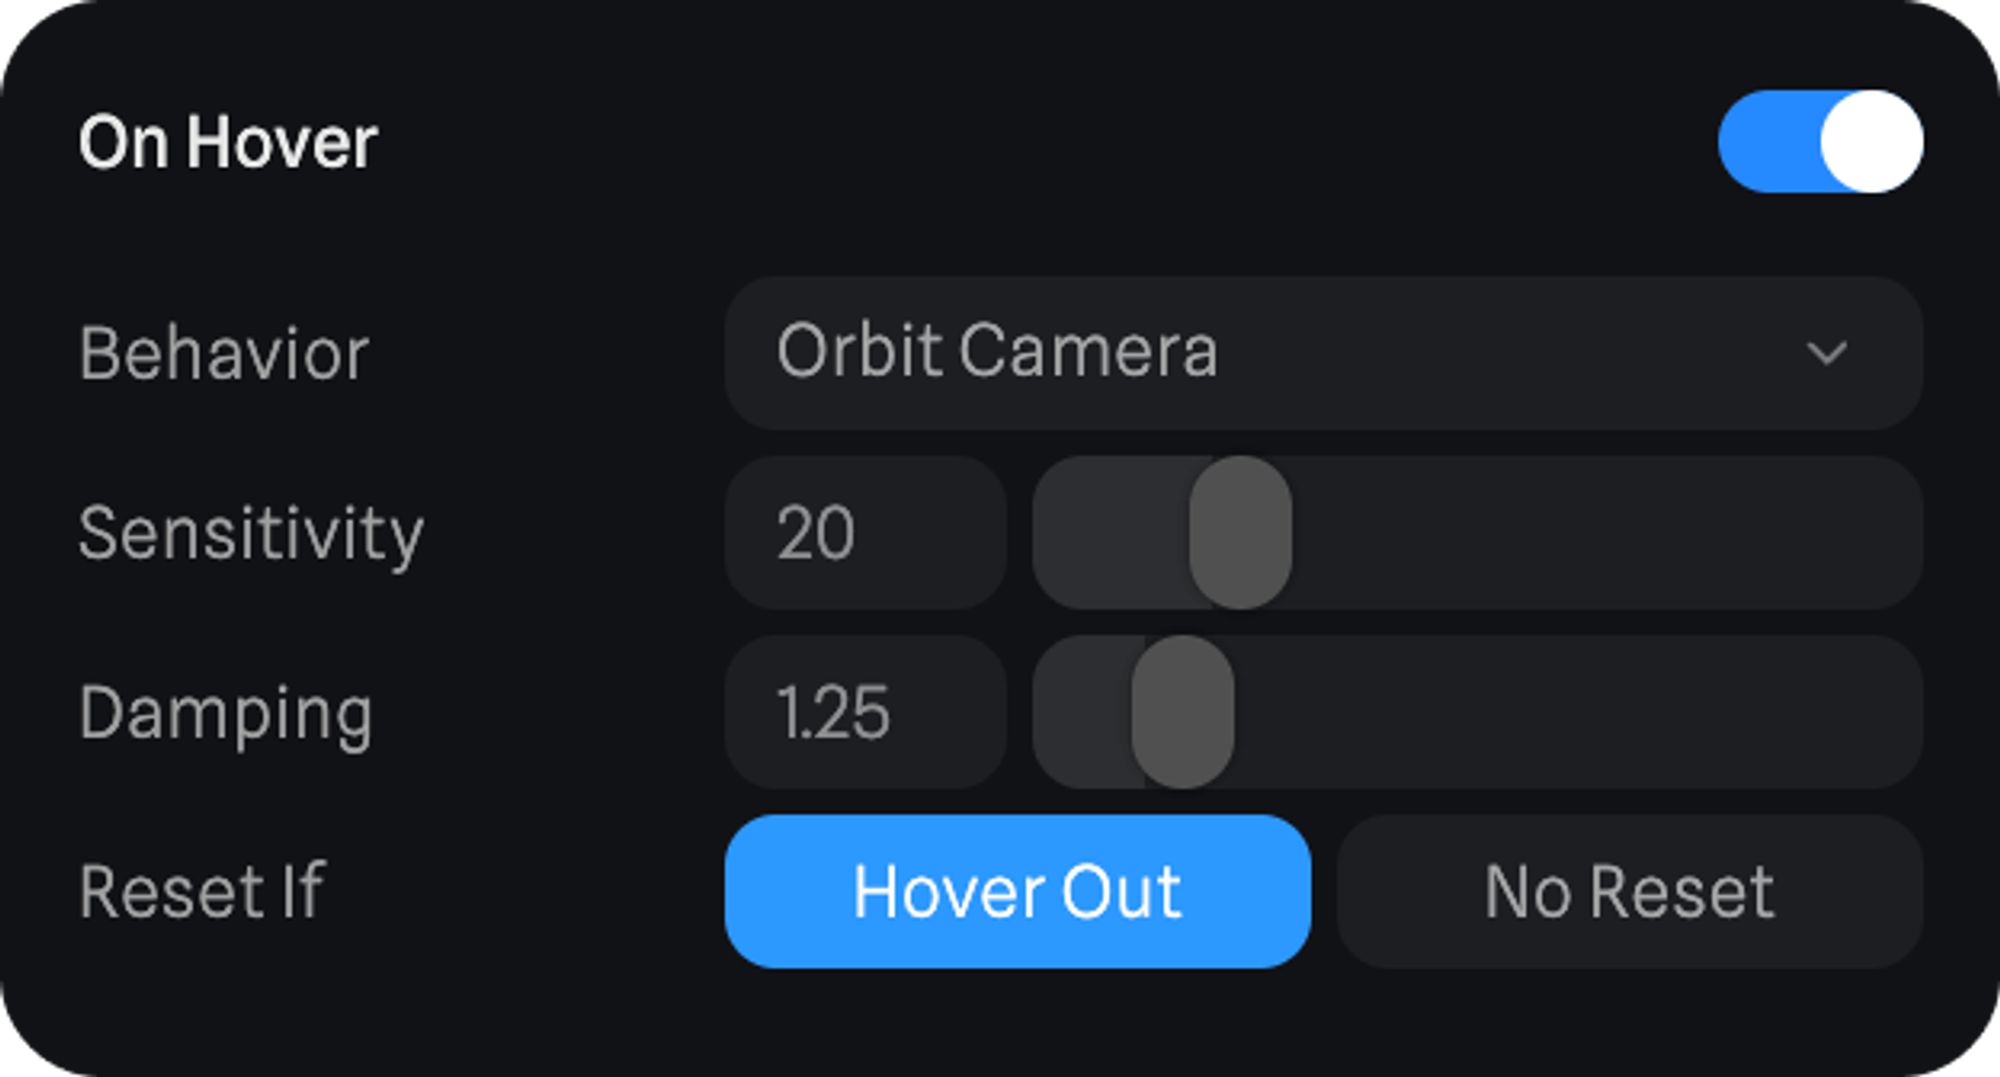
Add an hover effect on your whole scene with the On Hover setting.
Behavior → Orbit Camera or Pan Camera.
Sensitivity → The sensitivity value will make the effect stronger or more subtle.
Damping → Controls how quickly the effect settles; lower values make it snappier, higher values smoother.
Reset if → Hover out (On Hover will work every time), No Reset (On Hover will only work once)
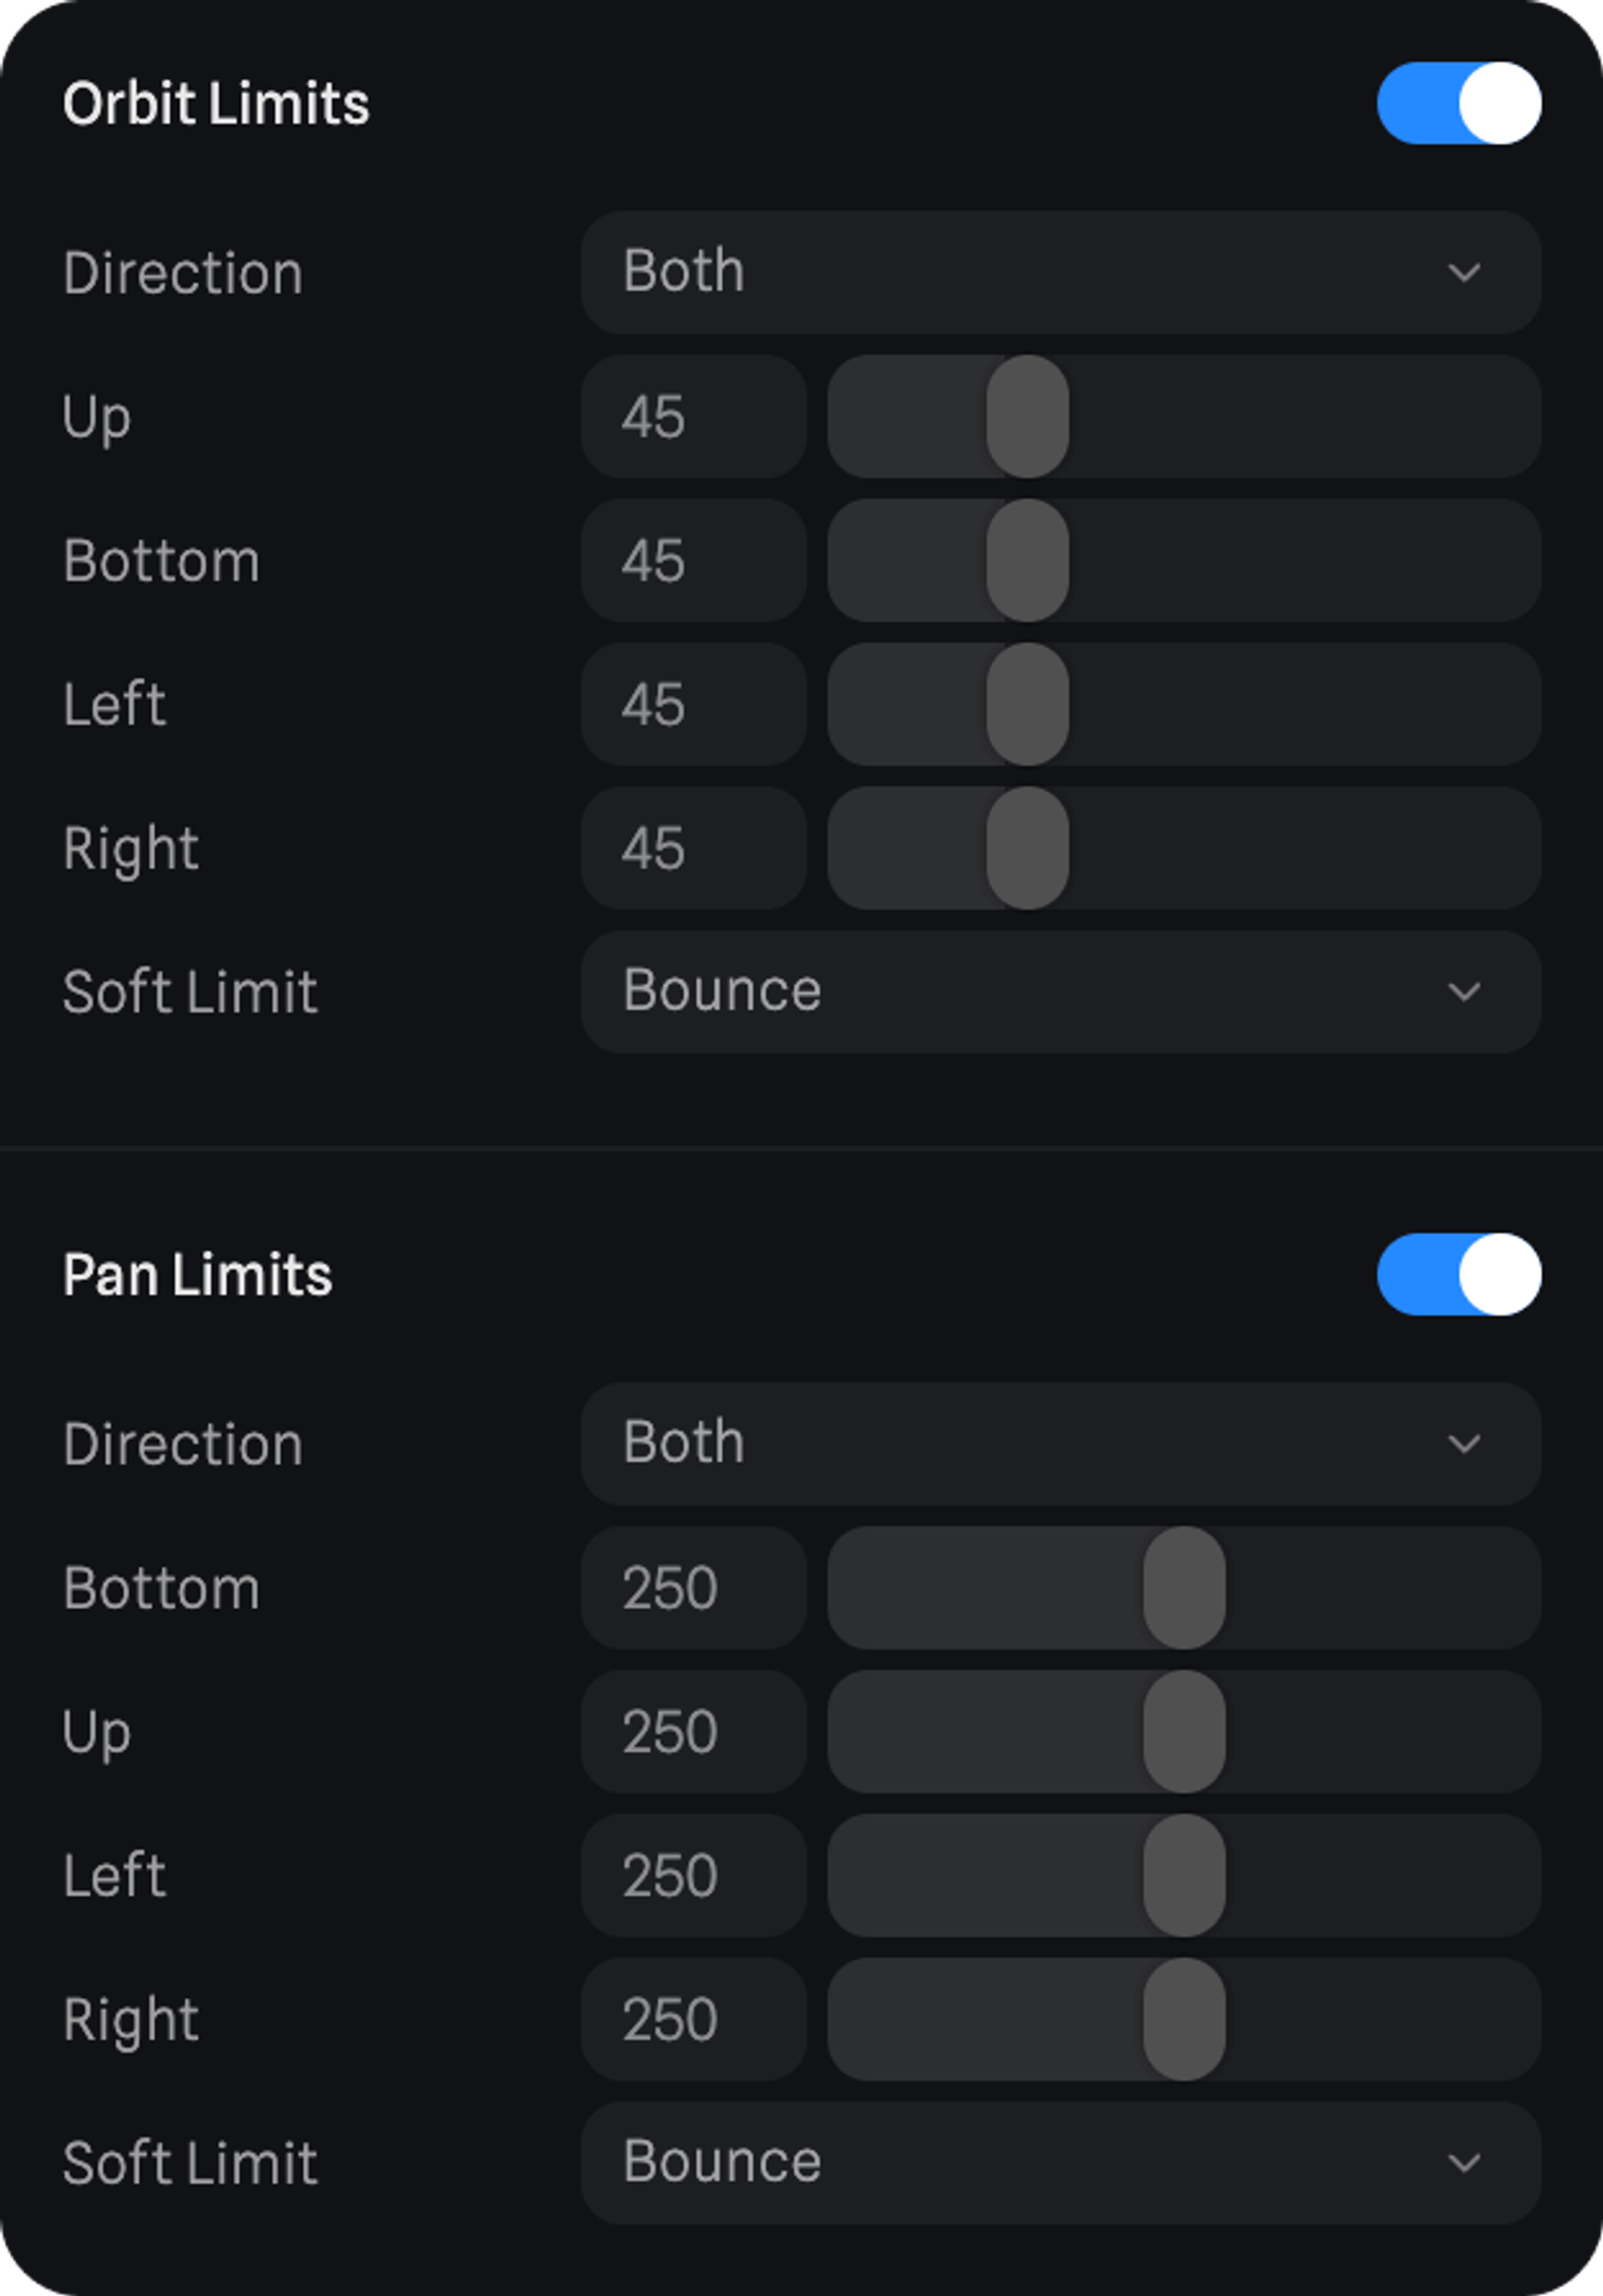
Orbit Limits and Pan Limits will force the camera Orbit and Pan to be constrained to a specific limit from the initiate position of the main camera.
Direction → In which direction should the limit be applied (horizontal, vertical, or both).
Up / Bottom / Left / Right → Set precise Orbit and Pan Limits for each direction.
Soft Limit → Will define the behavior of the camera snapping back to its initial position when released.
- None → will be more snappy.
- Bounce → will add a bit of bounce.
- Ease → will have a more smooth behavior.
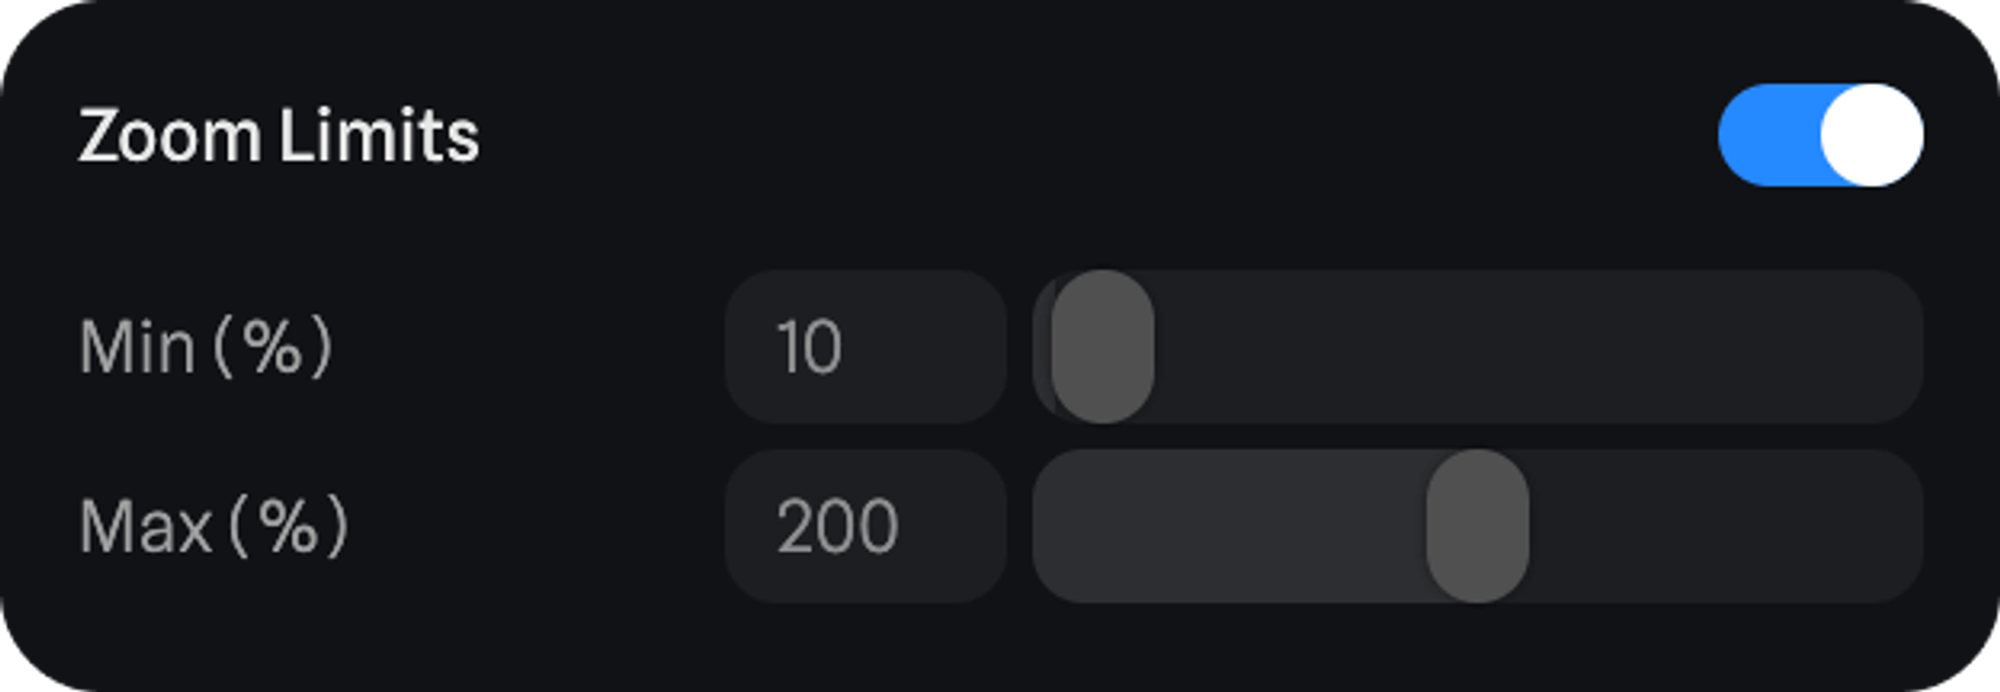
Zoom Limits can control the minimum and maximum percentage of zoom allowed for the main camera.
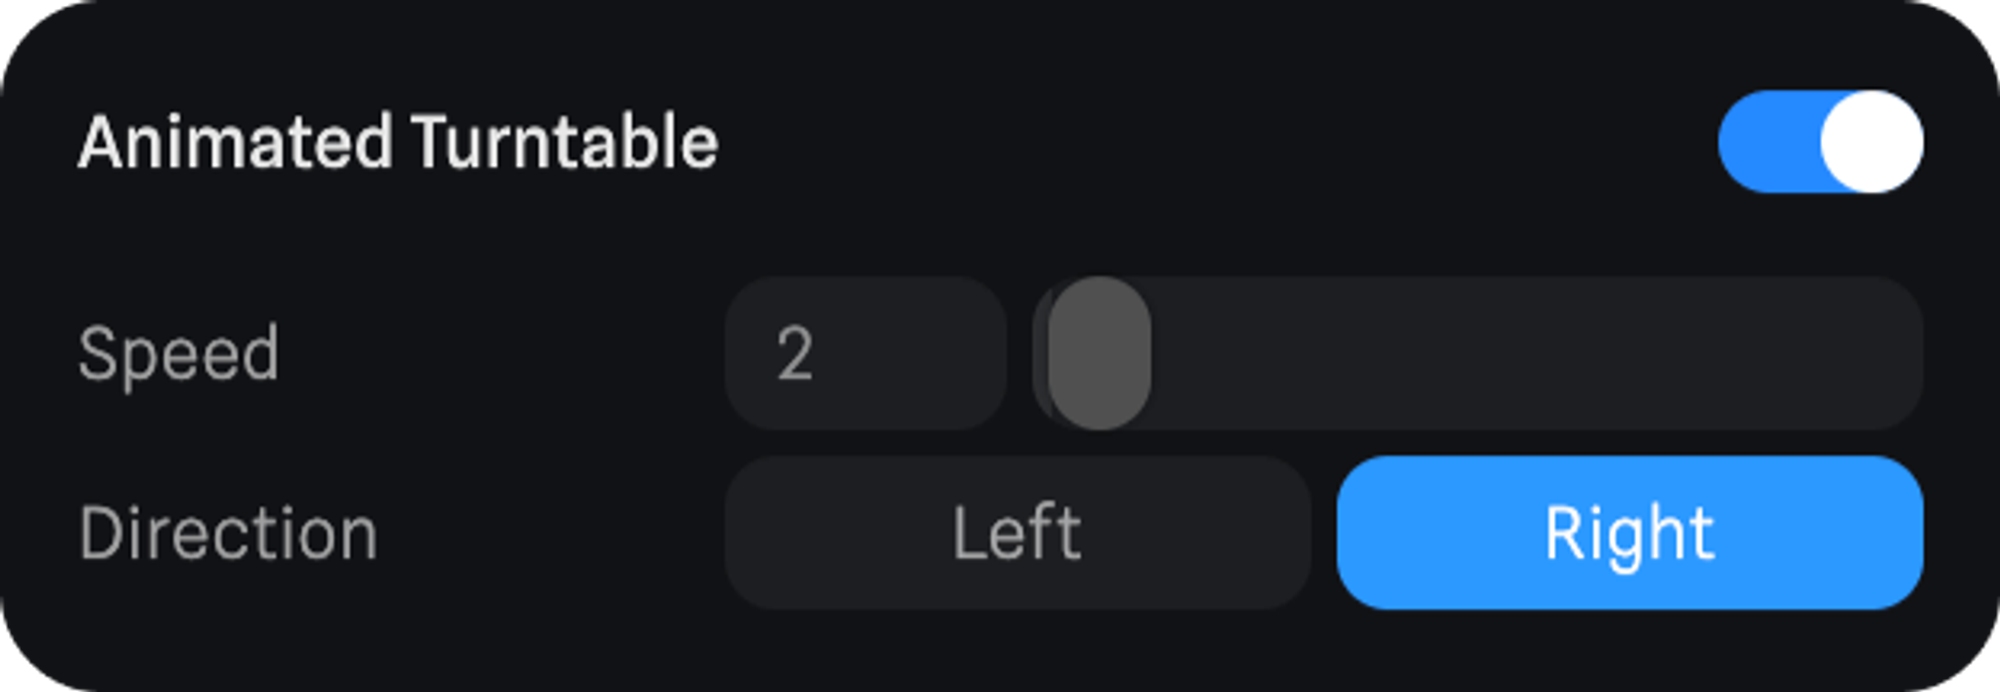
Animated Turntable lets you add an automatic rotation to your scene on the Y axis.
Speed → defines the speed of the rotation.
Direction → defines the direction of the rotation.
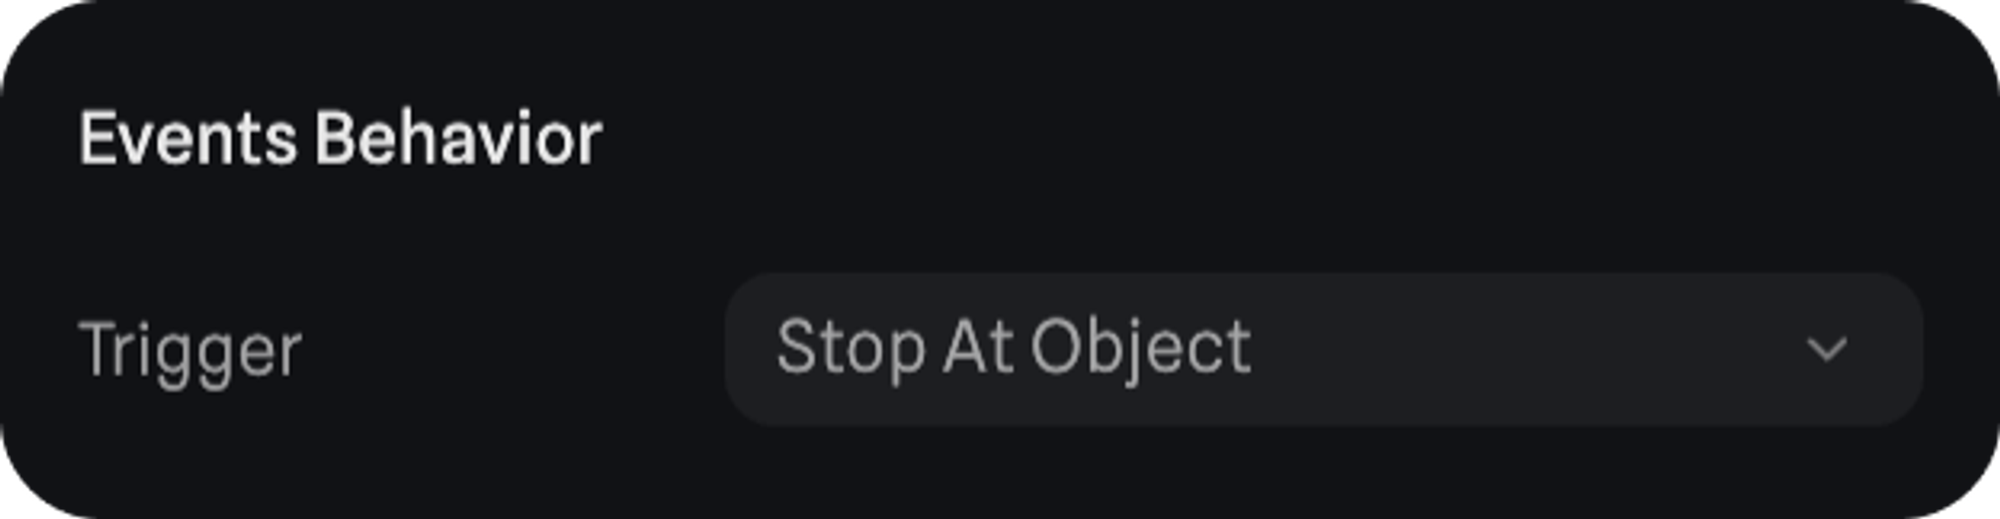
Defines the behavior of events using click or touch on an object (e.g.: Mouse Down event).
Stop At Object → If an object is blocked by another object, only the non-blocked object can be clicked.
Passthrough object → If an object is blocked by another object, the blocked object can be clicked.
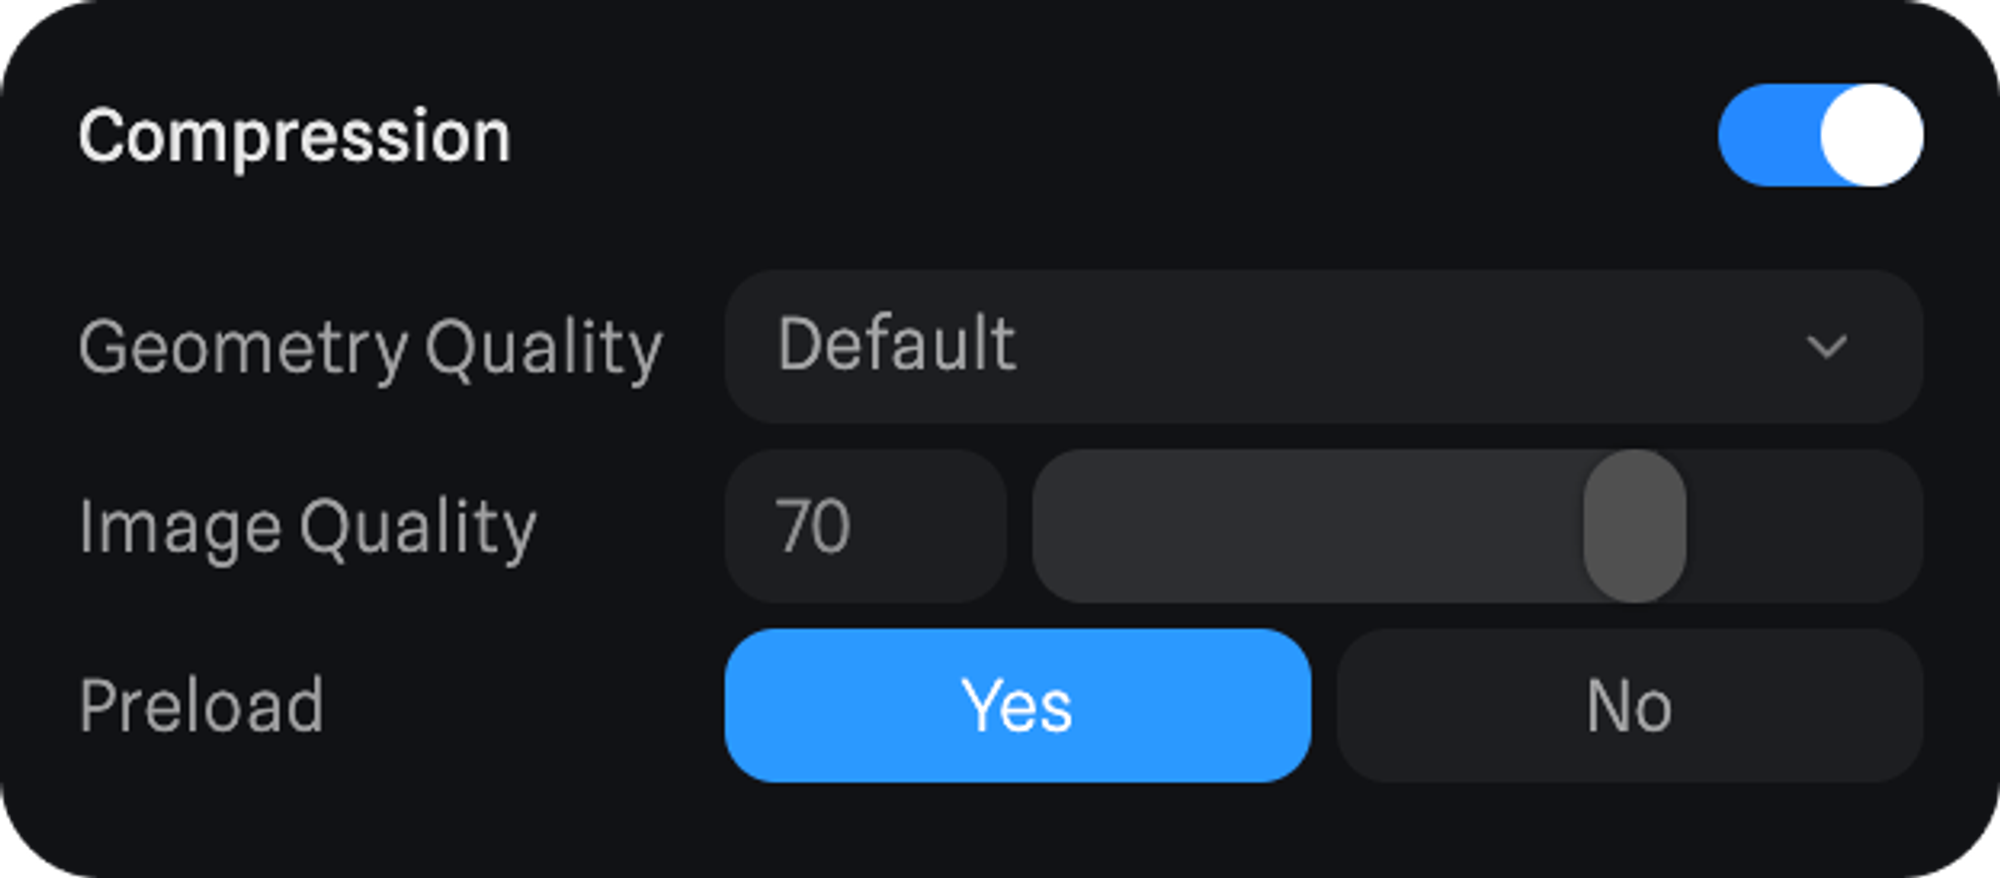
Geometry Quality → will define the compression method
- Performance → compression will be optimized for performance
- Default → will set compression where both performance and quality are considered
- Quality → compression will be optimised for visual appearance and quality.
Image Quality → Controls the image compression level. This can help you reduce the overall size of scenes that use textures substantially, in some cases making your file sizes 4x smaller.
Preload → If set to Yes loading times of big scenes will be improved.
Renderer → Chooses which graphics pipeline the exported scene uses.
- Auto (recommended) → Renders on WebGPU where the browser supports it, and falls back to WebGL everywhere else. This is the safest choice for a public audience.
- WebGPU → WebGPU only. Browsers without WebGPU support see a "requires WebGPU" notice instead of falling back, so only pick this when you control the audience's browser.
- WebGL → The classic WebGL pipeline only.
New scenes default to WebGPU. Scenes exported before this setting existed keep the Auto behaviour.