To create more than 3 scenes per file, you’ll need an active Professional or Team subscription.
Multi-Scenes use cases
Build multi-scene experiences
By transitioning between multiple scenes it’s possible to create experiences that spread across multiple 3D spaces (like multiverses). Like building a game that is composed of multiple levels. Learn more here: Scene Transition Action.Iterate on designs with ease
By duplicating a scene it’s possible to iterate quicker without worrying about changing someone else’s work.Organize your files
Stay organized inside your files by keeping your components in their own space, by archiving older design explorations, or by separating different design iterations.Working with Multi-Scenes
The Scenes of your Spline file can be found on the left sidebar, above your outliner. Your file will be started with only one scene but you can create new ones from this panel.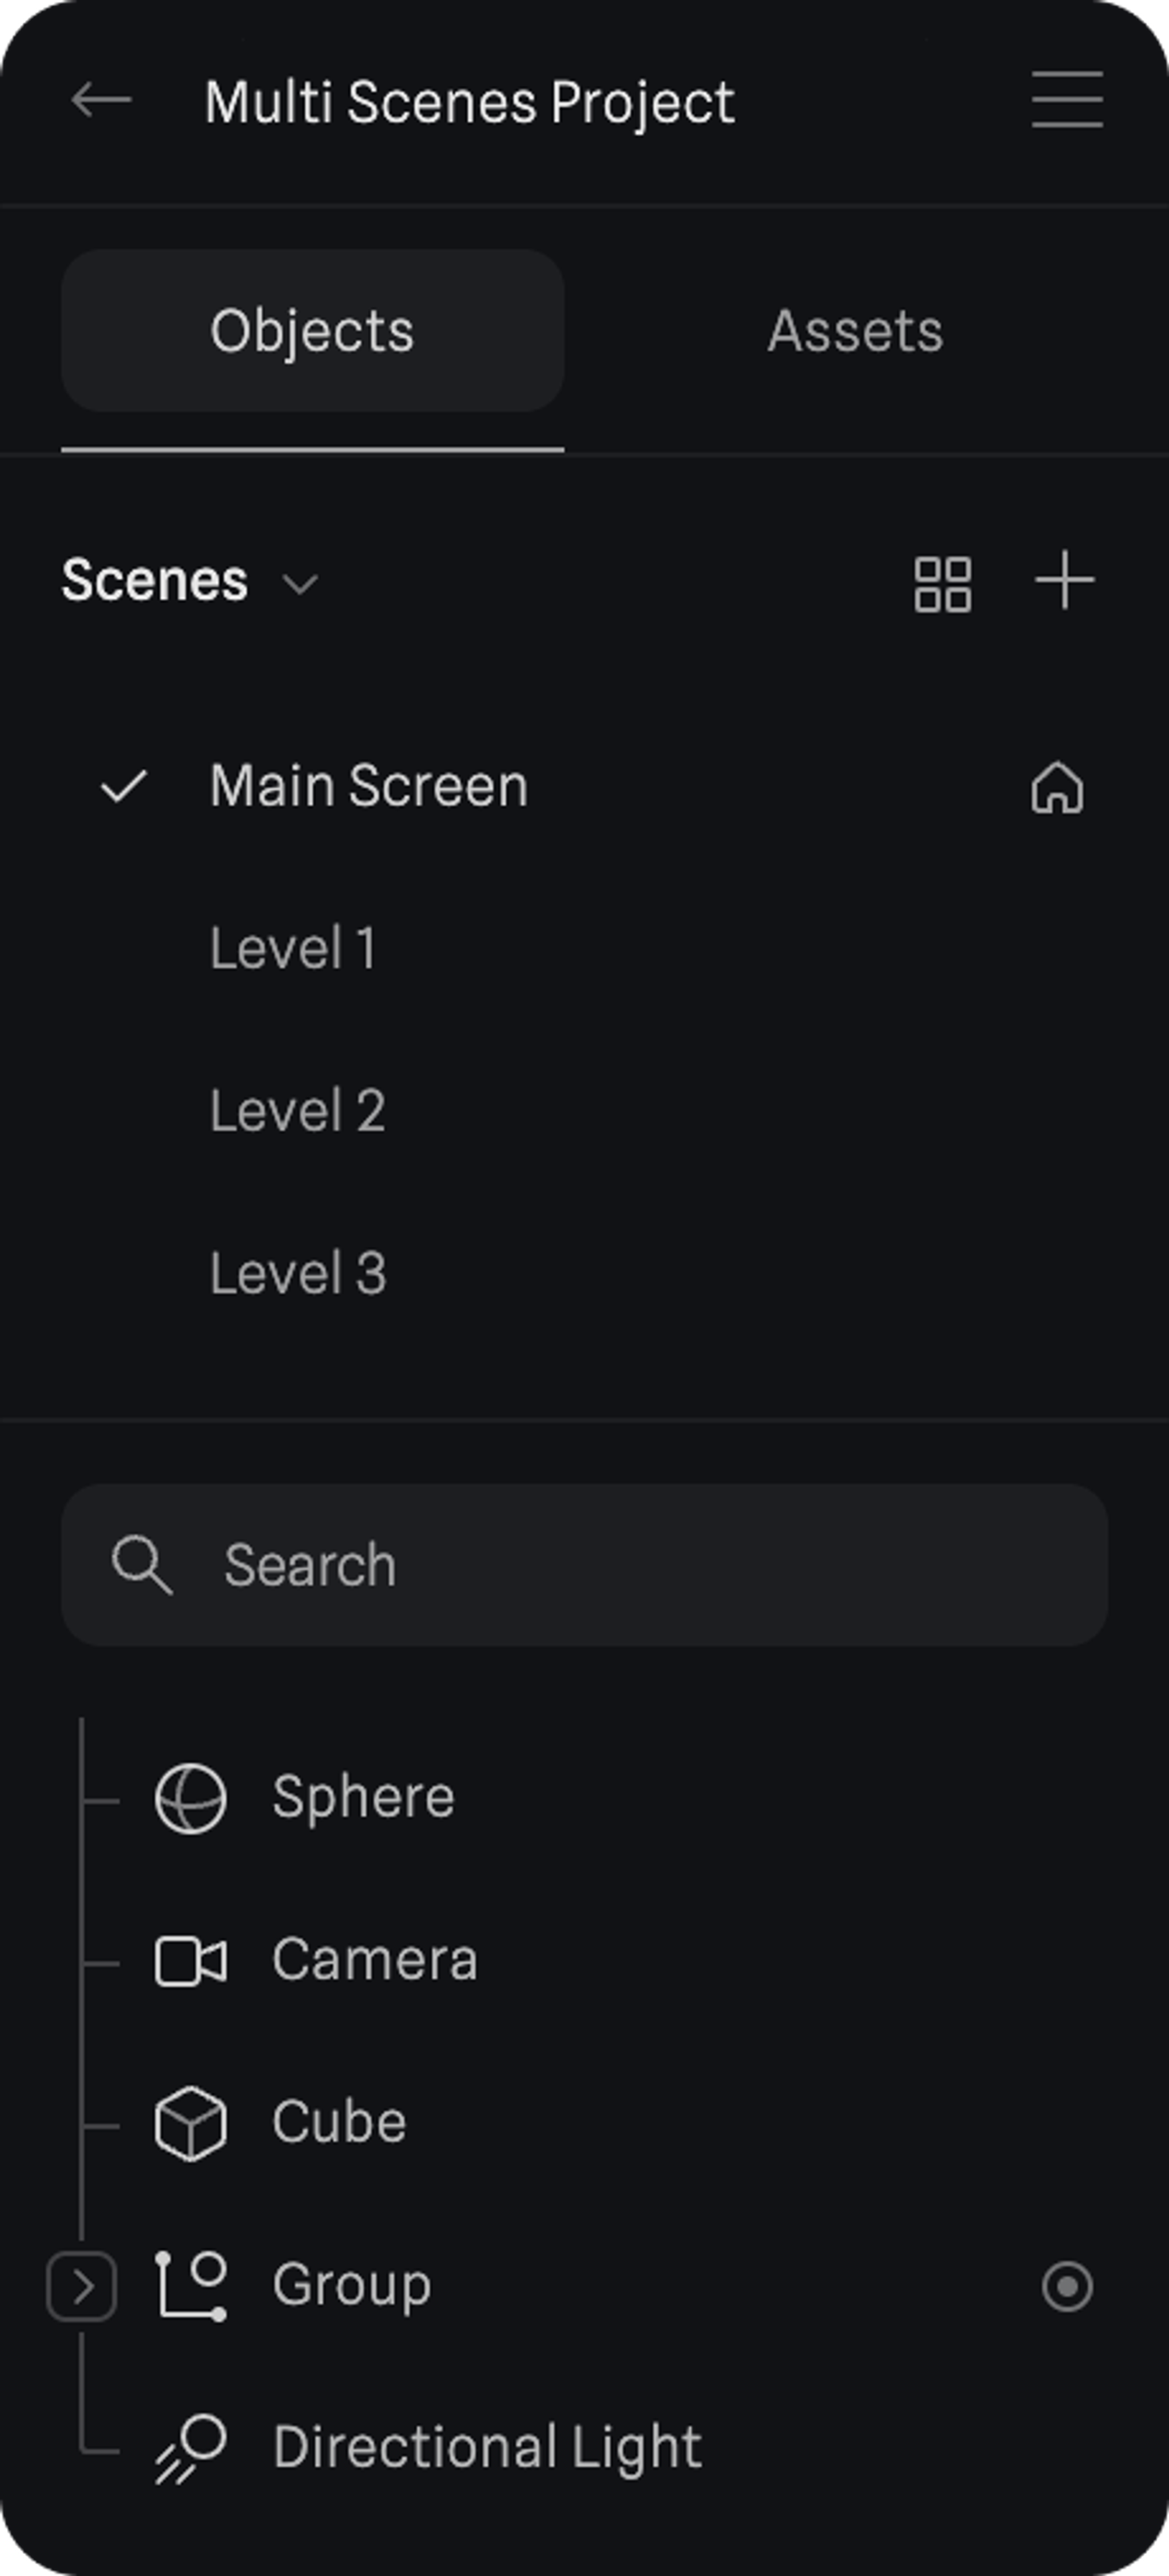
Creating new Scenes
To create a new scene use the+ icon on the top right.
Or you can also duplicate an already existing scene by right-clicking and choosing Duplicate.
Managing Scenes
To keep your scenes organized you can access options likeRename and Delete with right click.
You can also drag your scenes to reorder them.
Setting a Main Scene
On the scenes panel, you’ll find ahome icon to the right of your first scene. This indicates which scene will be your starting scene when viewing your Public URL.
To choose another scene as the main scene, you can right-click it and choose Set as Main Scene.
Grid View
To get an overview of all the scenes on your Spline file you can access Grid view with theGrid icon that’s next to the + icon.
Grid View will show you all your scenes with their respective names and thumbnail previews.
This view allows you to visually manage your scenes. You can do all the same actions you’d do on the scenes panel like Duplicate, Rename, Delete, and Set as Main Scene. You can also create new scenes or preview them on Play Mode.