If you have ideas, feature requests, or bug reports in regards to Webflow integration please send your feedback to us at help@spline.design.
Exporting from Spline
- Open a Spline Scene.
- Click on “Export” in the top toolbar.
- Select “Spline Viewer”
- Copy the scene link at the top. It should look like this:
https://prod.spline.design/HqdfCmOueigtautT/scene.splinecode→ feel free to grab this scene to test embedding Webflow.
Adding Spline Scene in Webflow
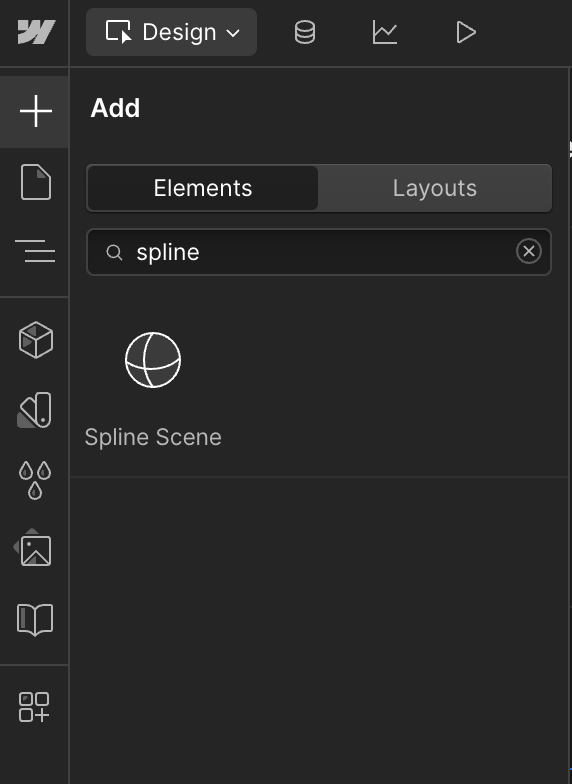
Inside the Webflow editor, follow these steps to add a Spline Scene:- Click the “+” icon on the left toolbar
- Under “Elements” search for the “Media” section
- Click on “Spline Scene”
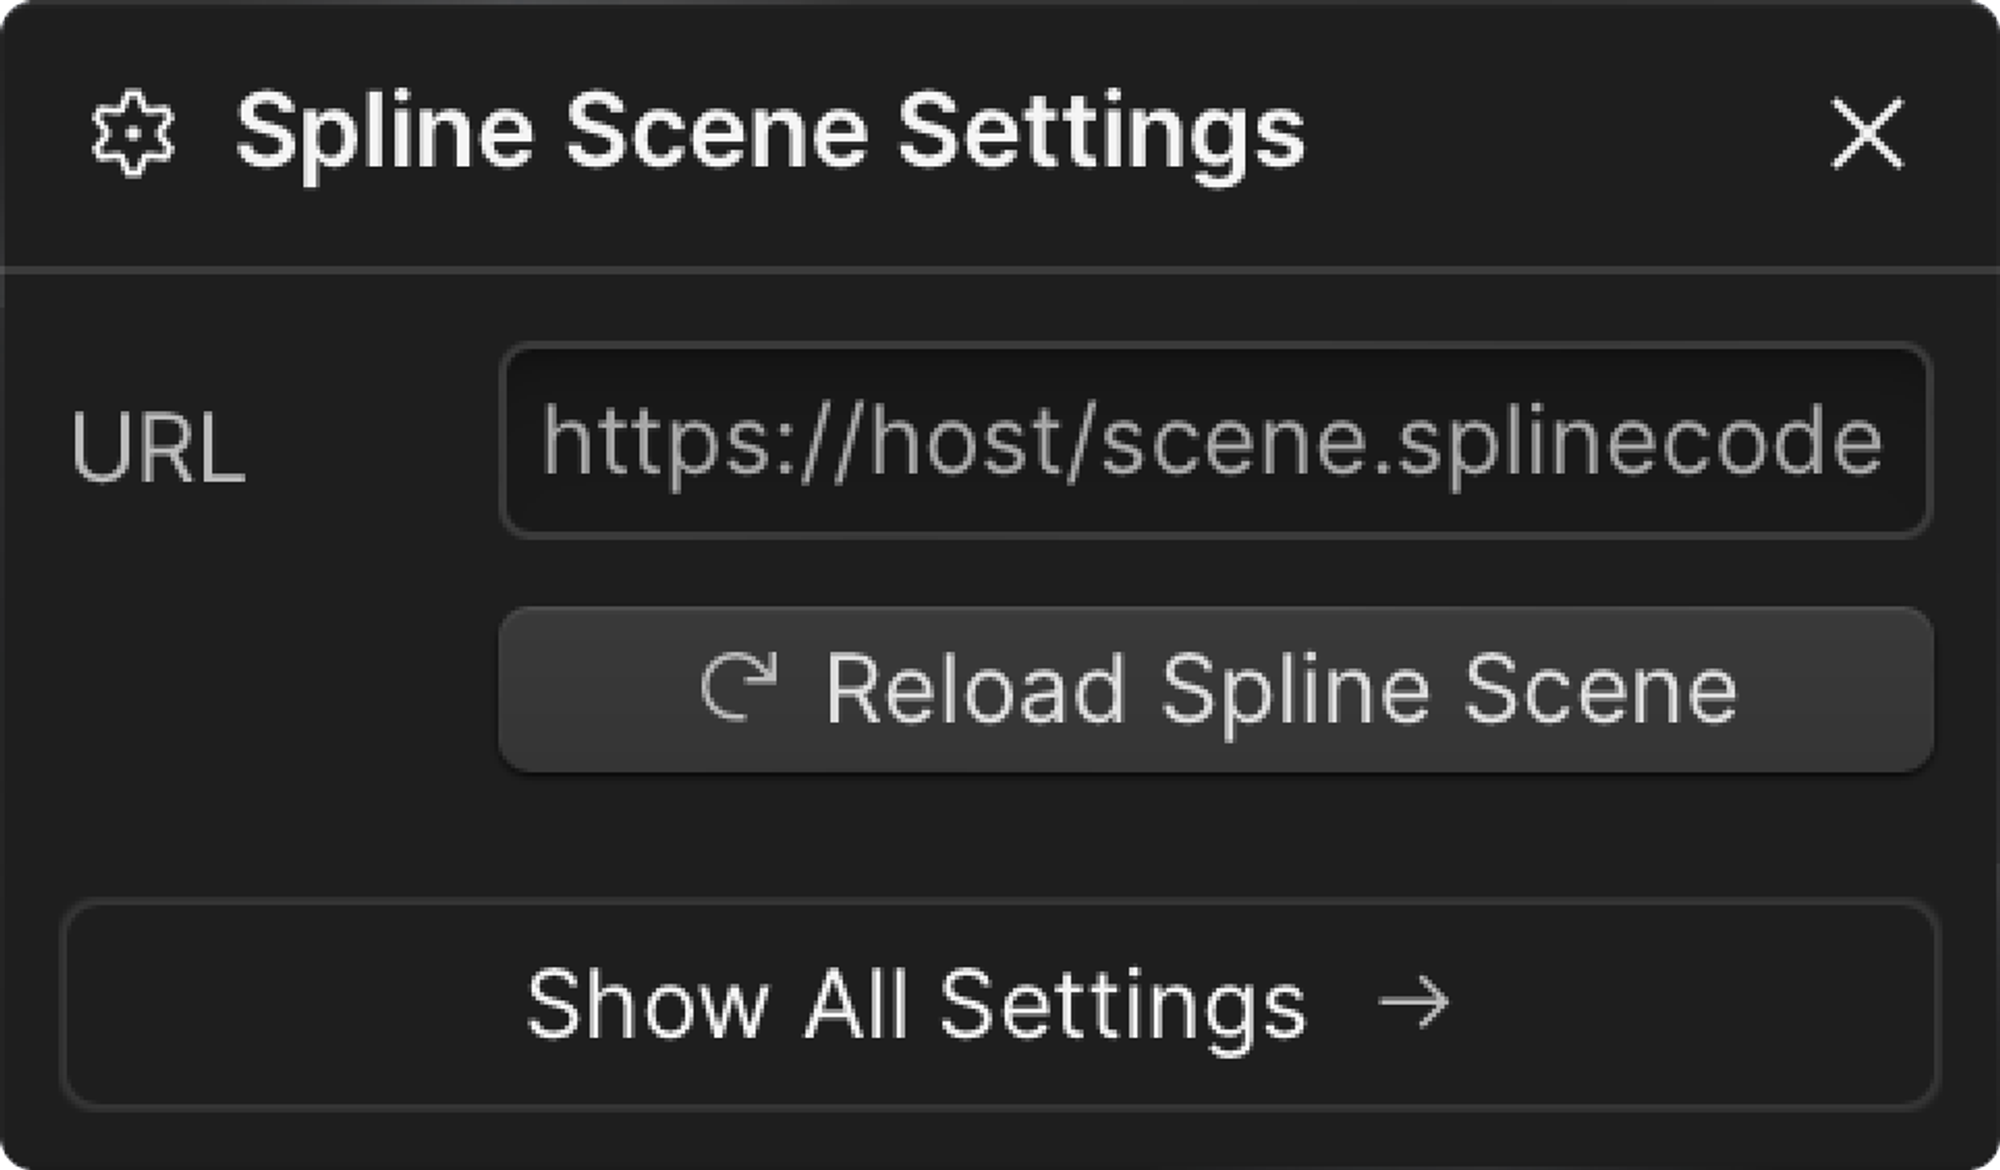
- There is a default Spline Scene included in the “URL” input field. Paste your own Spline URL (see previous step Exporting from Spline).
- Click on “Show All Settings” to get access to all the Webflow settings.


Controlling the Spline scene from Webflow
- Select “⚡️ – Interactions” in the right sidebar top corner.
- Create a new trigger (Element trigger or Page trigger), for this exercise select “Mouse move in viewport” with the “+” icon next to “Page trigger”.
- Select the trigger.
- Add an animation (”+” icon next to Mouse Animations).
- Open the animation with the “⚙️ – cogwheel icon”.
- At Mouse X Action click on the “+” icon and select “Spline” at the “Integrations” section → This unlocks access to Spline objects.
- At 0% select the “Spline” object.
- At the bottom of the sidebar next to “object” select from the dropdown the object you would like to manipulate → “Geometry” in the case of the example in the video.
- Set the “Geometry” initial position, scale, and rotation, you need to define a value in order to take effect (default values will be ignored from the animation)
- Now select the Spline object at 100% and there you should be defined by how much should be the object’s position, rotation, and scale be transformed.
- Now preview the experience with the “👁️ – preview icon” in the top toolbar.
- Done! Moving the mouse over the webpage should animate the Spline object.

Previewing Spline scene in Webflow
In Webflow following options are available to preview your Spline Scene interactions- Option 1 → Click on the “👁️ – Toggle Preview” icon in the top toolbar
- Option 2 → Publish the site in Webflow and load the page to see the Spline scene in action.
Update Spline scene in Webflow
1. In Spline
- Make an update in the Scene (e.g.: change the color of an object),
- Click on Export
- Select the Spline Viewer tab
- Click on Update → Wait until the updates get pushed
2. In Webflow
In the case of an already published Webflow project, just reload the website that contains the Spline Embed and your most recent Spline update will be visible.
- Select the Spline Scene.
- In the right sidebar select “Element Settings”
- At the “Spline Scene Settings” section click on “Reload Spline Scene”
- Done, the updates are live!
Best practices
- Scene optimization → Learn to optimize your scene to make sure your scene loads quickly and runs efficiently on all sorts of devices. How to optimize your scene
- Various screen sizes → To match your scene with responsive behaviours use the Screen Resize Event and match it with the breakpoints from your Webflow environment. Screen Resize Event

