Files view
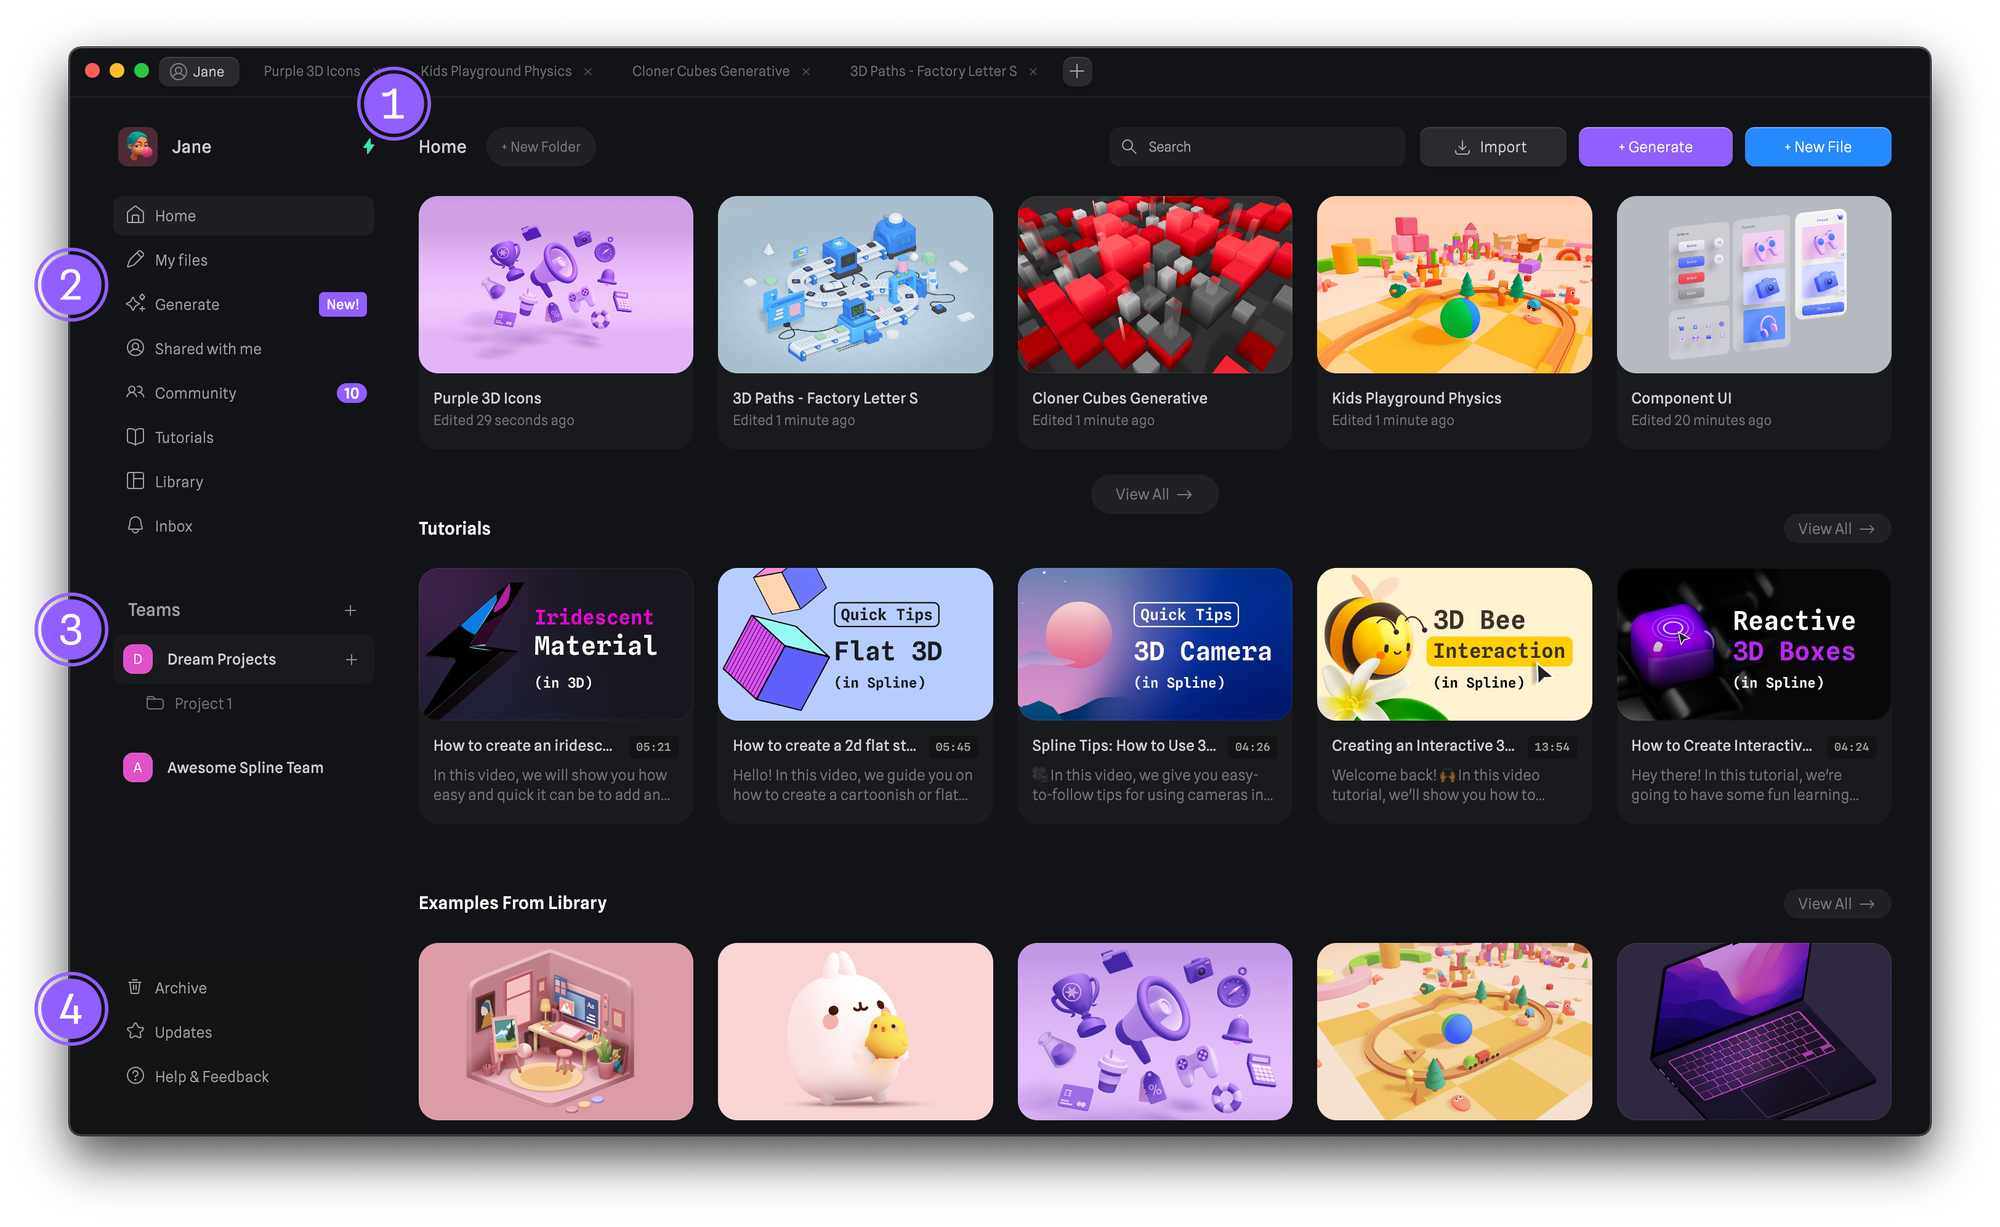
- The Home gives you access to your recent files, latest tutorials and library examples.
- The Left navigation bar gives you access to your files, notifications, tutorials, community and more.
- The Team section shows your team projects and makes it possible to switch between teams.
- Bottom-left section allows you to check the archive files, updates and get help & feedback.
Editor
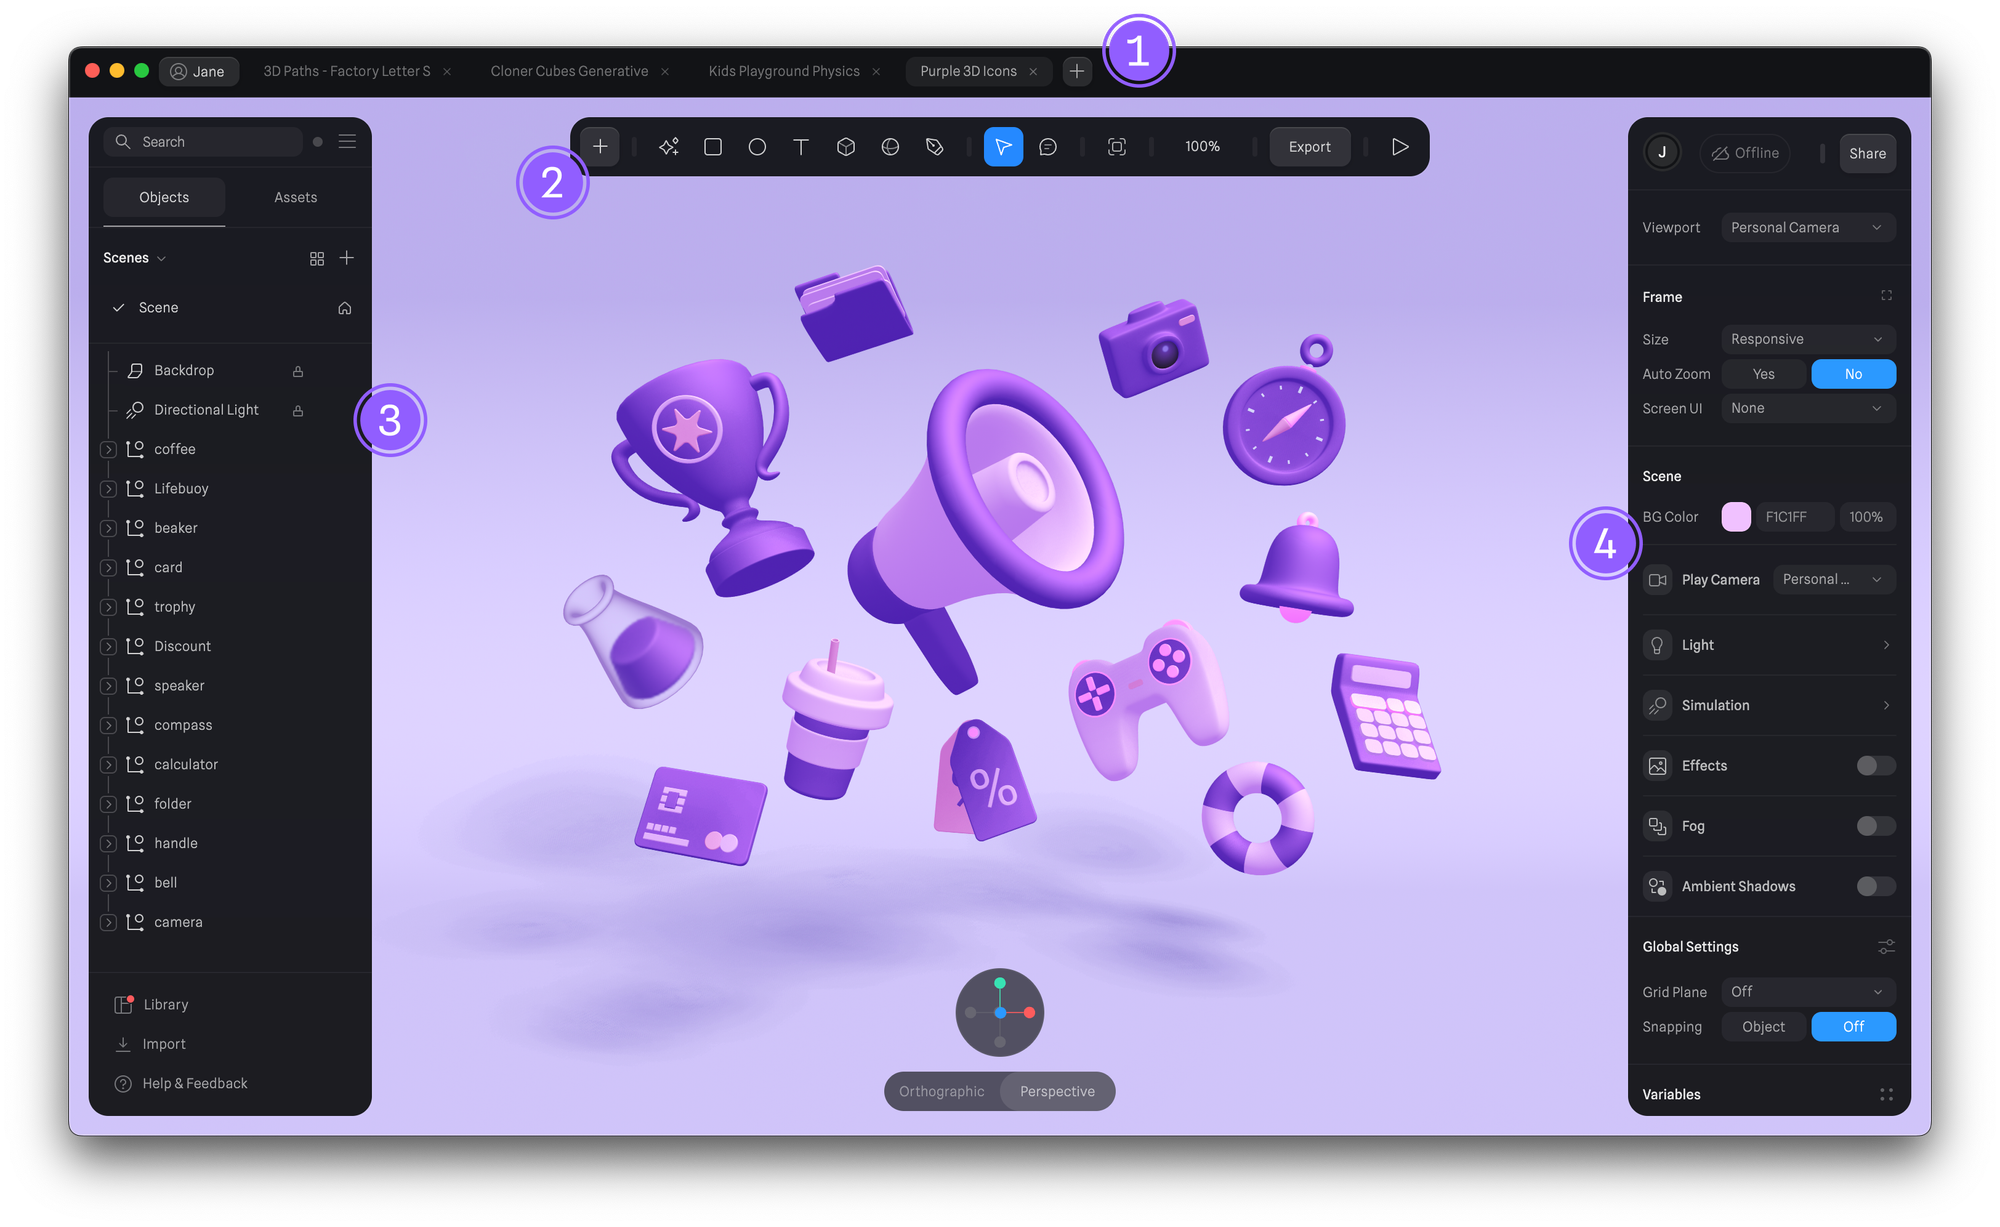
- The Tab bar shows your opened files.
- Press the ”+” icon to create new files.
- Press the button with your name to go back to the dashboard.
- The Toolbar provides quick access to the most common objects, transform options, and special modes, like the vector tool or frame mode. We can also see the zoom value, export our scene, or go into presentation mode.
- Press the ”+” icon to see a full list of available objects (parametric objects).
- Press Transform (the arrow) to move, scale and rotate an object.
- Press the “Play” icon to access Play Mode.
- The Left Sidebar shows your scene’s layers or objects. Also known as the Outliner. Switching to “Assets” will access the asset browser and team library manager.
- The Right Sidebar shows the Property Panels. Each panel lets you change properties from either the whole scene or from selected objects.